Golf Simulator Costs: What Do You Actually Need to Budget For?
Research-led guide: This article is based on product-category research, official manufacturer and software information, and practical setup requirements. It is not a hands-on test of every component mentioned.
A home golf simulator is not one purchase. It is a chain of decisions, and the launch monitor is only one of them.
That matters because a setup that looks inexpensive on a product page can become far more costly once you add something safe to hit into, a mat that works with your stance, a display, software, cables, room preparation and any professional installation. The reverse can be true too: a golfer who only wants useful ball data may be able to stop well before they reach a full simulator room.
This guide is a way to plan the whole project before you start comparing products. It deliberately avoids live prices and deal claims because those change quickly. Instead, use it to decide which categories you genuinely need, which can wait, and where spending more solves a real problem.
The short answer: budget in layers, not as a bundle
A sensible first question is not “What is the cheapest simulator?” It is: what do I want to do at home?
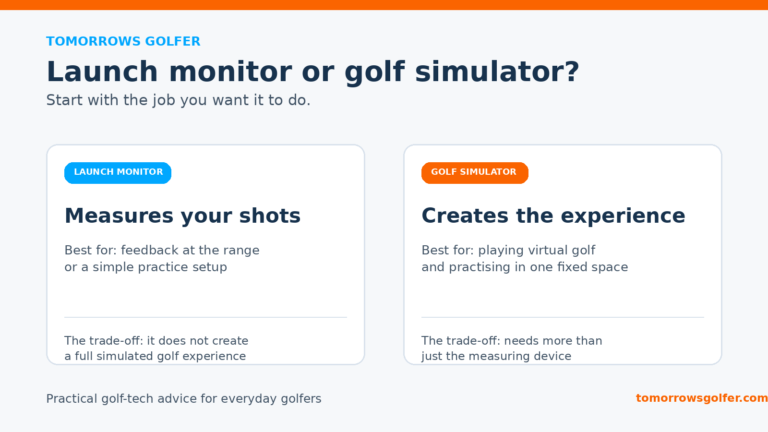
- Data-first practice: see basic shot feedback and hit safely into a net or impact screen.
- Indoor simulation: play virtual courses and practise with a more immersive screen or display.
- Dedicated room: build a repeatable, tidy space that other people can use without moving equipment every session.
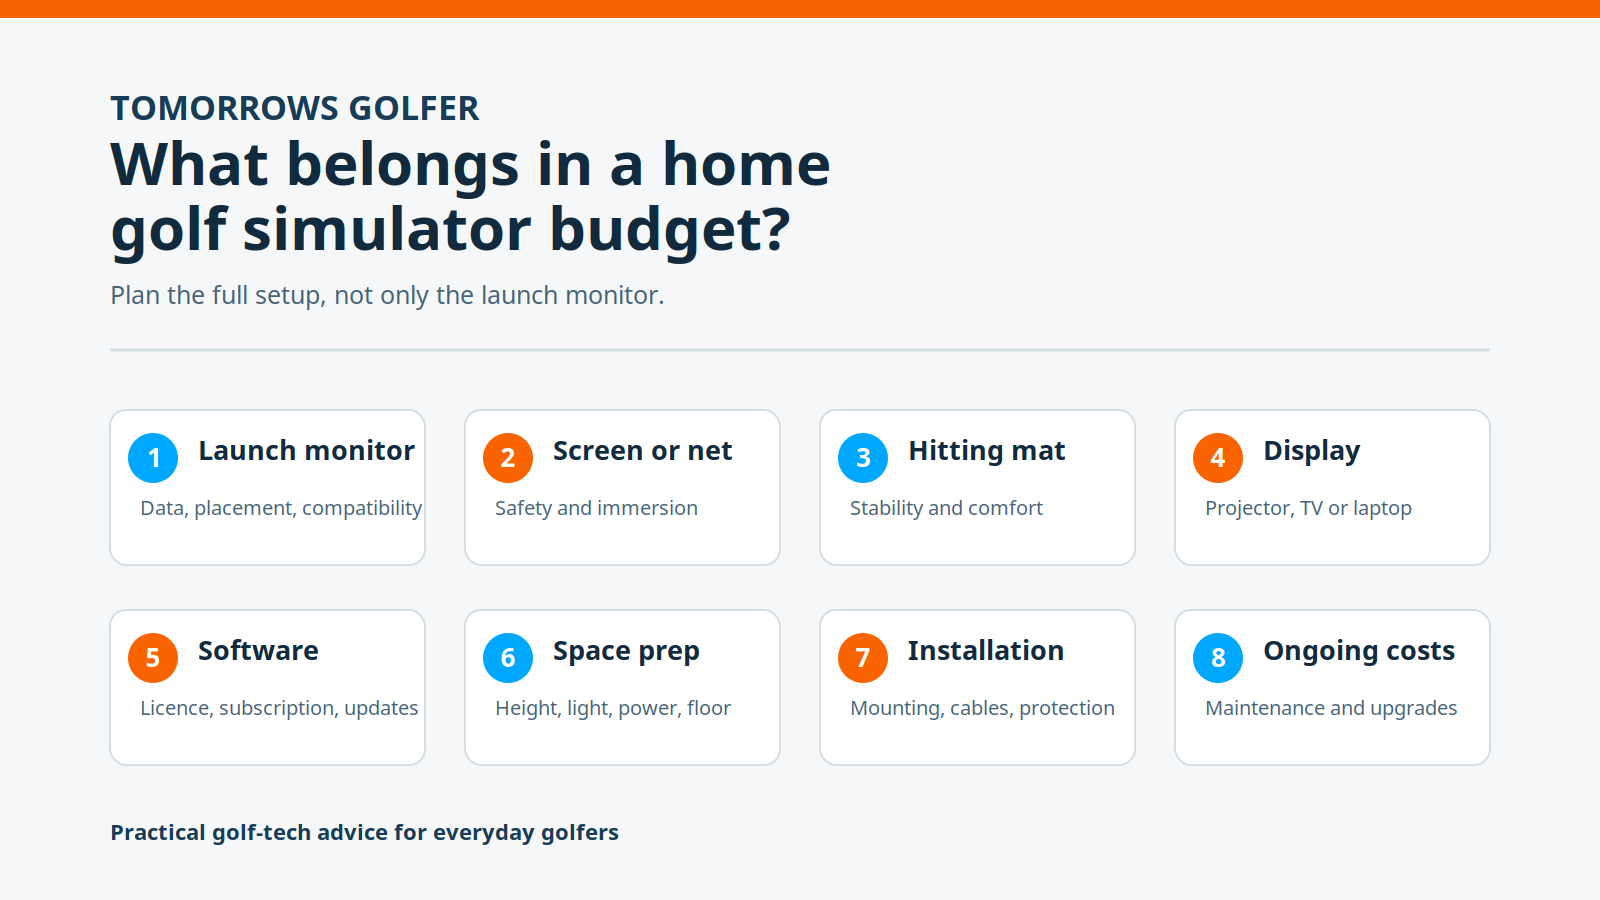
Each step can add several cost categories. A full setup may need all eight:
- launch monitor
- screen or net
- hitting mat
- display and computer
- simulator software
- space preparation
- installation and accessories
- ongoing costs
The practical mistake is treating the first item as the total budget. It is usually the starting point.
Start with the launch monitor, but do not start with the price
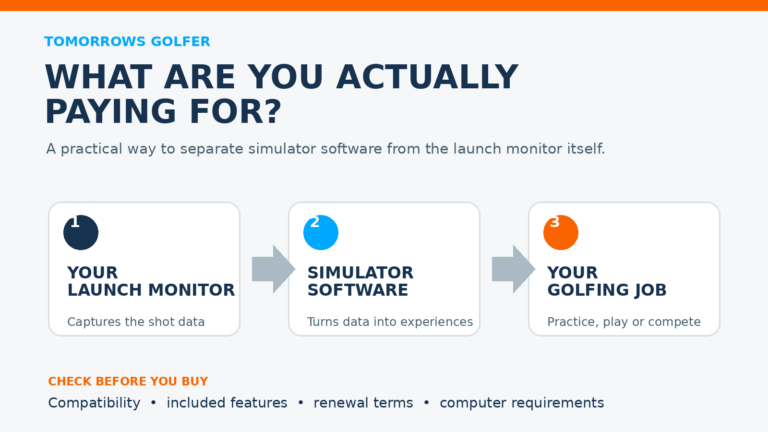
The launch monitor is the measurement engine. It affects the data you receive, whether your room layout works and which software ecosystems are open to you.
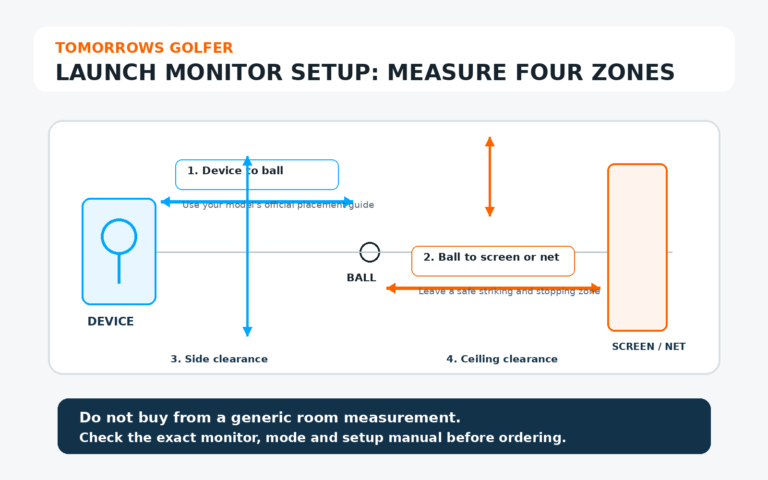
Before putting one in a basket, check:
- whether it is designed for indoor use
- whether it needs to sit behind the ball, beside the ball or overhead
- its stated indoor space and ball-flight requirements
- the data included as standard versus data that needs an upgrade or subscription
- compatibility with the software you want to use
- whether left- and right-handed players can use it easily
- whether you need portable use outdoors as well
A radar-based unit can need more usable ball flight than a camera-based unit. An overhead unit may keep the floor clearer but can introduce mounting, cabling and installation work. Neither approach is automatically better. The right choice depends on your room, your practice goal and whether you want a portable device.
If you are still choosing the measurement category, our guide to radar vs camera golf simulator technology is a useful place to start. If your priority is low-cost data rather than a built-in room, see the best launch monitors under £500.
The budget implication
Do not allocate all your money to the monitor. Reserve part of the project budget for the setup it requires. A monitor that is technically excellent but awkward in your room can create more expense than a model that fits the space cleanly.
Screen or net: decide whether immersion matters
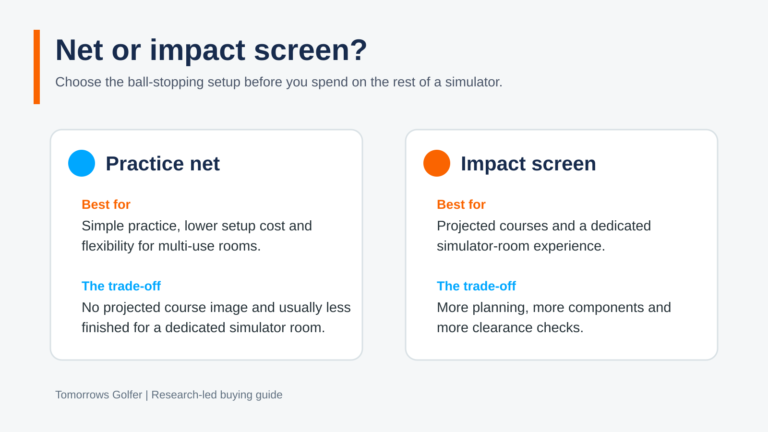
You need a safe place to hit the ball. That can be as simple as a suitable practice net or as involved as an impact screen inside an enclosure.
A net is usually the simpler route
A net can make sense for golfers who want practice and data feedback rather than a cinematic simulator experience. It can reduce the need for a projector, enclosure and darkened room. The trade-off is that it is less immersive, and the setup can feel temporary if it needs to be moved.
Check the manufacturer’s guidance on ball speed, use distance, anchoring and room clearance. A net does not remove the need to think about errant shots, side protection or the person standing nearby.
An impact screen and enclosure change the experience, and the job
An impact screen can make virtual play more convincing and give the room a cleaner finish. It may also add frame components, side walls or curtains, tensioning, protective padding and more careful placement of a projector.
The hidden cost is often not the screen itself. It is getting the dimensions, safety margins and mounting right. If the screen is too close, too loose or poorly protected at the edges, it may compromise both the experience and the room.
The budget implication
Pay for an enclosure only when you value the screen experience and can leave it in place. A good net setup can be the smarter first phase when practice matters more than virtual golf.
A hitting mat is not an afterthought
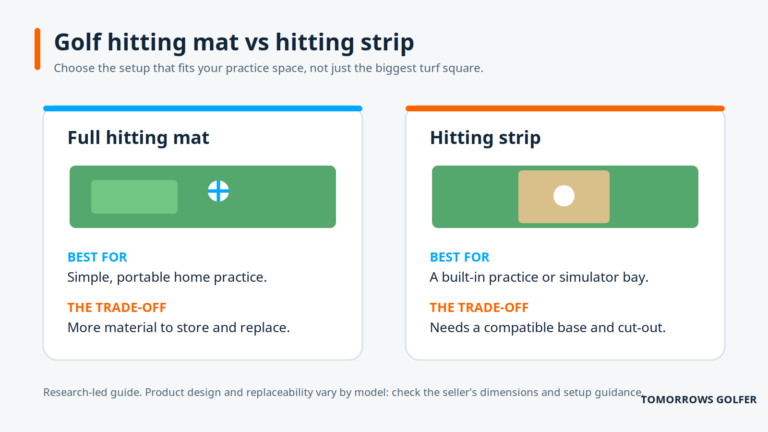
The mat has two jobs: protect the floor and give you a surface you can use repeatedly. It also influences comfort, stance height and the relationship between the ball, screen and launch monitor.
Budget for:
- enough width for your natural stance and alignment
- enough length to stand and strike comfortably
- a stable base that does not creep across the floor
- a hitting strip or replaceable hitting area if you expect regular use
- a stance mat that keeps both feet level with the ball
- a floor-protection layer where the room needs it
Very thin or overly firm mats can be uncomfortable for repeated shots, particularly when the club contacts the surface. A mat that lifts the ball position can also require you to revisit your monitor and screen alignment.
The budget implication
For frequent practice, buy the mat as a piece of equipment rather than a decorative accessory. For occasional simulator play, a simpler mat can be sensible, but it still needs to be stable and safe.
Display: projector, television or no display at all?
A display is optional for data-first practice. It becomes important when you want to play courses, see shot visuals at full size or make the space enjoyable for more than one person.
Projector
A projector can create the classic simulator look, particularly with an impact screen. It brings its own checklist:
- throw distance and image size for your exact room
- mounting position and cable route
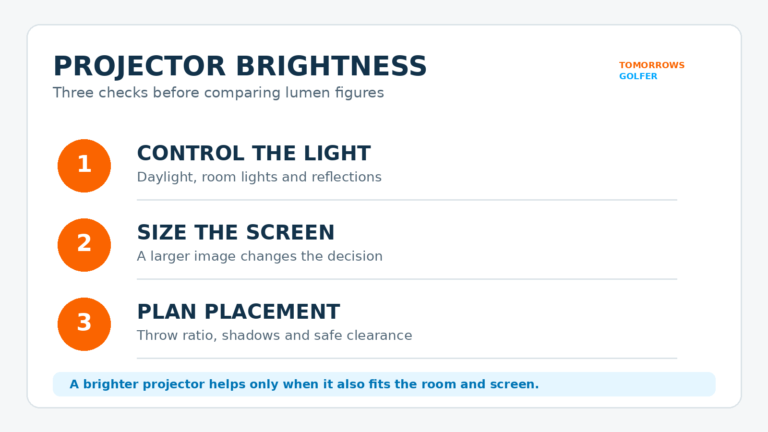
- brightness for the available light
- protection from balls and clubs
- aspect ratio and image alignment
- fan noise, heat and access for maintenance
Our guide, Do You Need a Projector for a Home Golf Simulator?, explains why a projector is not compulsory for every setup.
Television or monitor
A large television or computer monitor can be easier to install and useful for software menus, data review and casual virtual play. It does not belong directly in the hitting line, and it may not replace the experience of projecting onto an impact screen.
No display
If your priority is numbers and shot feedback, a phone, tablet or laptop can be enough. This is the least expensive way to learn whether a home practice setup will actually become part of your routine.
The budget implication
Do not buy a projector by default. First decide whether you are buying a practice station or a room-scale simulator.
Software: check the cost after the hardware purchase
Software can be the least visible line item and the one that continues after the room is finished. Some monitor ecosystems include a basic app. Others offer optional course play, enhanced practice modes, cloud features or third-party compatibility.
Before committing, verify:
- what is included with the monitor
- whether the software is a one-off licence, a subscription, or both
- which operating system and hardware it requires
- whether course play is included or sold separately
- whether a software licence can move with you if you change computers
- whether updates, online features or multiplayer require a continuing payment
- whether the monitor you want is officially compatible with the software
Use official compatibility pages rather than retailer listings for this check. For example, GSPro and the relevant launch-monitor manufacturer publish their own current information. Those pages are a better source than an old bundle description.
The budget implication
Treat software as an ownership cost, not a free extra. A cheaper monitor can become a poor fit if it locks you into software that does not suit how you practise.
Space preparation: the room can be the biggest variable
The room is part of the equipment list. Height, width, depth, lighting, floor level, heating and storage all shape what is practical.
Start with this checklist:
- Can you make a full, comfortable swing without contacting ceiling, lights or walls?
- Is there sufficient distance between player, ball, monitor and impact surface for the technology you are considering?
- Is the floor level enough to keep stance, ball position and screen alignment consistent?
- Can you control light if using a projector or camera system?
- Is there safe clearance behind and beside the hitting area?
- Does the room need sound management for evening practice?
- Is there reliable power and network access where the computer and display will sit?
Room dimensions are not universal. Manufacturer requirements vary, and a golfer’s height, swing shape and comfort matter as much as a diagram. Read Golf Simulator Room Size: How Much Space Do You Need? before choosing hardware around a room that has not been measured properly.
The budget implication
Decorating, floor levelling, electrical work, blackout blinds, heating, ventilation or acoustic treatment can all be relevant. None is mandatory for every project, but each can turn a simple setup into a room project.
Installation and the small items that make a setup usable
A DIY setup can keep costs down, but installation has a value when it prevents poor alignment, unsafe mounting or repeated rework.
Potential costs include:
- delivery, especially for large enclosures and mats
- tools, fixings, brackets and cable management
- wall or ceiling mounting
- a protected projector mount
- extension leads, surge protection and network hardware
- computer stand, tablet mount or keyboard shelf
- side protection and padding
- professional electrical work
- assembly, alignment and calibration help
This is also where room-specific compromises appear. A low ceiling may change the monitor position. A doorway may prevent a permanent frame. A shared garage may need equipment that folds away.
The budget implication
Keep a contingency line for installation and accessories. It protects you from having a box of expensive hardware but no safe, convenient way to use it.
Ongoing costs: plan for ownership, not launch day
A simulator can have costs after the initial installation. They may include:
- software subscriptions or upgrades
- optional course libraries or online features
- replacement hitting strips, screens or net components
- projector lamp, filter or maintenance costs where applicable
- computer upgrades as software requirements change
- electricity and heating for a garage or outbuilding
- insurance implications for a converted room or valuable equipment
- repairs, calibration or professional support
Not every setup has every cost. The point is to ask the question before you build around a single headline number.
What changes the total cost most?
Five decisions tend to move the total more than anything else.
1. Data-only practice versus full virtual golf
A net, mat, monitor and laptop can answer a practice need. Adding screen play, projection and polished room integration changes the scope.
2. Portable versus permanent hardware
Portable equipment can suit a garage or shared room but takes time to set up. Permanent equipment is more convenient but can demand mounting and room work.
3. Your monitor’s placement requirements
The monitor’s technology and position affect how much clear room you need, and therefore whether the setup works without structural changes.
4. How often you will use it
Regular users should put more thought into the mat, stability, lighting and software. Occasional users may be better served by a modular setup that is quick to pack away.
5. Whether the room already works
A level, dry room with usable ceiling height, power and space is a huge advantage. A room that needs conversion can cost more in preparation than in golf equipment.
Three sensible ways to choose a first setup
1. The practical practice setup
Best for: golfers who want feedback between range sessions and do not need projected course play.
Build around a compatible launch monitor, a safe net, a stable mat and the display you already own. Keep the system modular. You can add a screen or better display later if the routine sticks.
Trade-off: less immersive, and setup may be less tidy in a shared space.
2. The flexible simulator setup
Best for: golfers who want both practice and virtual rounds but cannot dedicate a room permanently.
Choose hardware that suits your space, plus a portable or semi-permanent hitting solution. Use a television or monitor first if projection would complicate the room.
Trade-off: more setup time and fewer opportunities to hide cables or leave everything aligned.
3. The dedicated-room project
Best for: households with a suitable room and a clear plan for regular use.
Treat this as a room project. Measure first, choose monitor placement second, then design the enclosure, display and electrical work around that decision.
Trade-off: higher upfront commitment and less flexibility if the room needs to change use later.
Who this guide is for
This guide is for UK golfers planning a first home setup, upgrading a net-and-mat practice area, or trying to understand why simulator bundles can have a misleadingly simple headline cost.
Who should skip it
Skip a home build for now if you do not have a safe place to make a full swing, only want occasional launch-monitor use at the range, or would rather pay for simulator time than maintain a room. Our comparison of buying a launch monitor versus paying for TrackMan sessions can help with that decision.
The Tomorrows Golfer verdict
A sensible home simulator budget starts with the outcome, not the bundle. Buy the monitoring and hitting setup you need first. Add immersion only when the room, software and routine justify it.
For most first-time buyers, the best protection against overspending is a written list of every category above, plus a clear answer to one question: will this be a practice station, a virtual-golf setup, or a dedicated room? Once that is clear, you can compare hardware without forgetting the parts that make it usable.
Official sources to verify before you buy
Always check the current official requirements, compatibility and purchase terms for the exact hardware and software you are considering.